mgmoddocs
1. Intro
This guide will cover one example of installing the tools required to start with MG modding. This will show the installation process starting with a fresh install of Windows 11, adding all the required programs, tools, templates, and all of the other required dependencies. This guide was authored by someone who had recently gone through the process of setting up an environment for modding, and is NOT an expert at any of these applications. The steps here are just what worked for them. Main resource used when creating this documentation was the modding documentation provided by Fede https://docs.fedes.uy/
Also, before we begin, just make sure that you have enough free disk space. A rough estimate on disk space required for all the tools is ~30GB. More space will be required for the Unity projects, 3D models, textures, Visual Studio projects, etc.
2. Unity
Unity is the game engine that My Garage was developed for. Any mods that add 3d models, sounds, new game objects, or modify/copy existing game objects will likely require the use of Unity. It is highly recommended to use the version that game uses (2020.3.0.f1.
- Official Unity documentation: https://docs.unity3d.com
- Unity installation documentation: https://docs.unity3d.com/Manual/GettingStartedInstallingUnity.html
2.1 Installing Unity Hub
These steps will only cover the process of installing Unity using Unity Hub, as you will require Unity Hub anyways. This will assume that you already have a Unity account, but have not installed Unity Hub yet. The install is straight forward, and should only take a minute.
- Download Unity Hub from the main Unity website: https://unity.com/download
- When the download is complete, run the installer
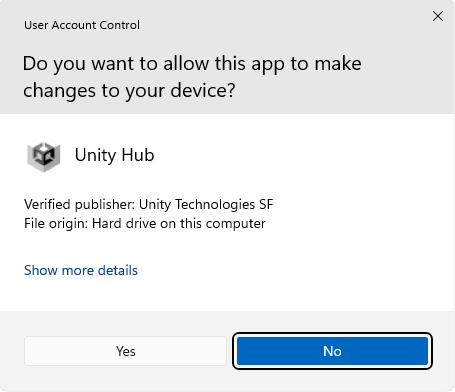
- Depending on your Windows configuration, you will likely get this prompt, click “Yes”
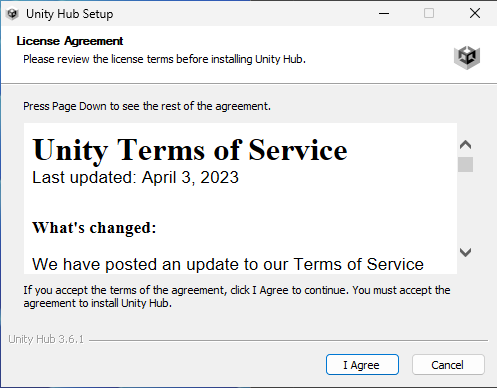
- Accept the license terms
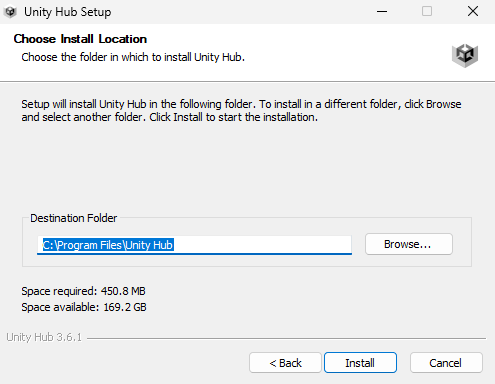
- Change the installation path if you want to, and then click Install
- The Unity installation will take a few seconds
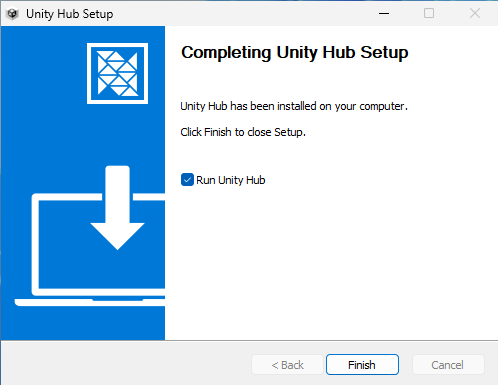
- Once the installation is complete, leave the “Run Unity Hub” checked, and click the Finish button.
2.2 Running Unity Hub for the first time
Next, we will need to set up Unity Hub so that we can download and use the Editor. We basically need to Add a license to be able to use Unity.
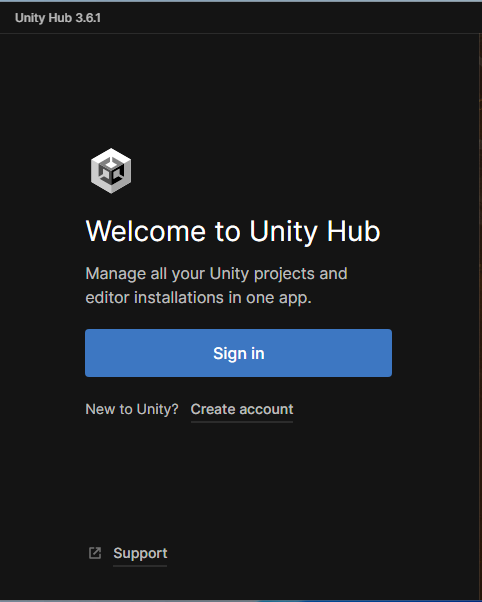
- When Unity Hub launches, click the Sign In button, or create an account if you haven’t already.
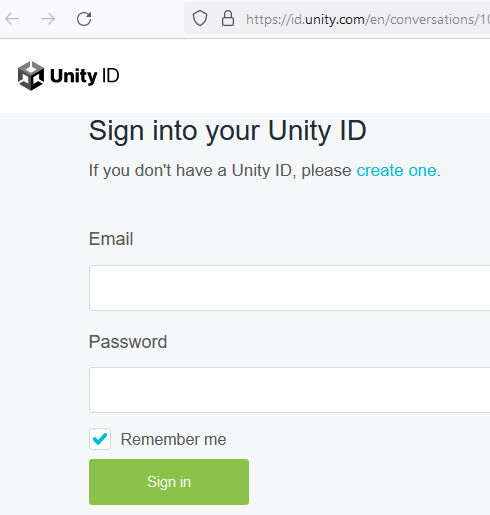
- This should open your default web browser to the Unity website where you can log in. Enter your info and click Sign In
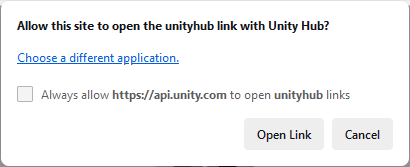
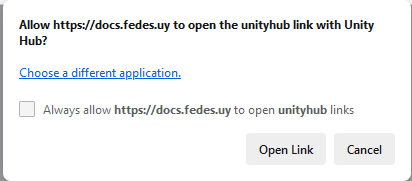
- You might be prompted with this alert in your browser, select “Always allow” and then click Open Link
- Unity Hub should now show that it is signing you in:
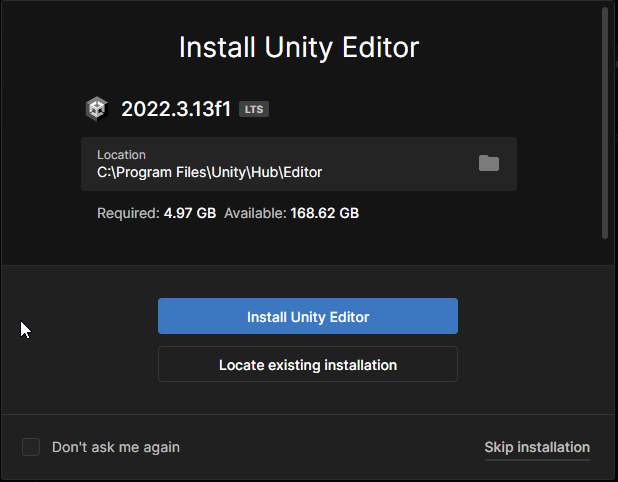
- Unity Hub will prompt asking you to install the latest version of the Unity Editor, click the “Skip installation” button in the bottom
- You will likely have a banner along the top of Unity Hub prompting you to activate your license, click the Manage Licenses button
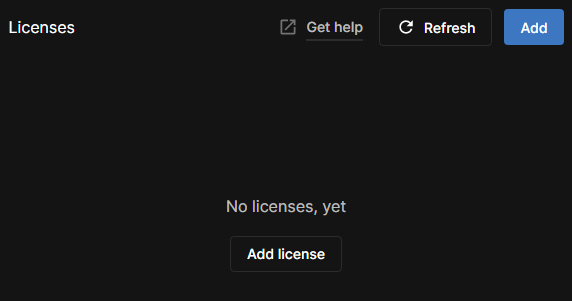
- Click the Add license button
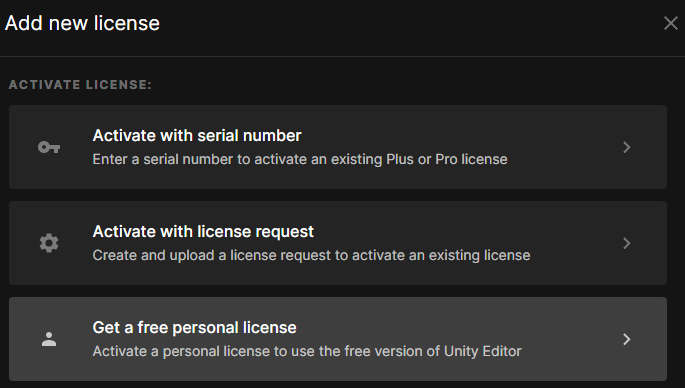
- Click “Get a free personal license” if you don’t have subscription already
- Review the terms, and if you agree, click the button to agree
- It should now add the personal license to the list of available licenses. Close the licenses dialog
- We are now ready to install the Unity Editor
2.3 Installing Unity Editor
To make mods for My Garage, we now need to install the same version of the Unity Editor as is used to build the game. This ensures that the Unity Engine libraries we use are the same as the game for compatibility.
- Open Fede’s download page https://docs.fedes.uy/#/downloads
- In the Unity section, click the Unity Hub link
- Your browser might prompt you with this message, click the Open Link button
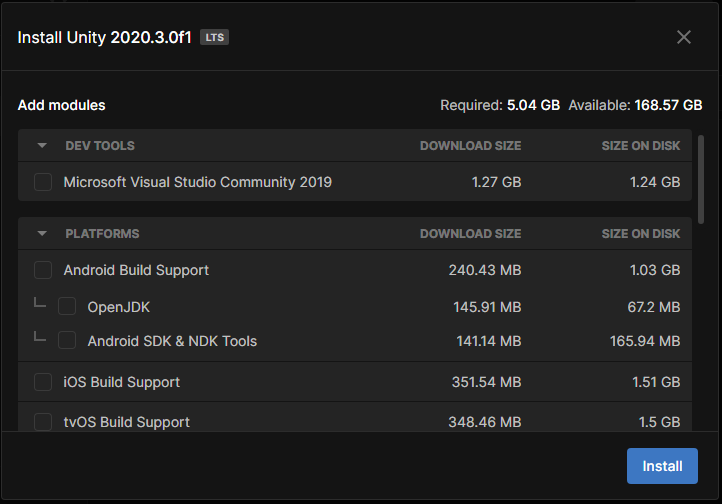
- Unity Hub should display the following module selection screen. Unselect the Visual Studio Community 2019 and click Install. We don’t need VS 2019, and will install a newer version later.
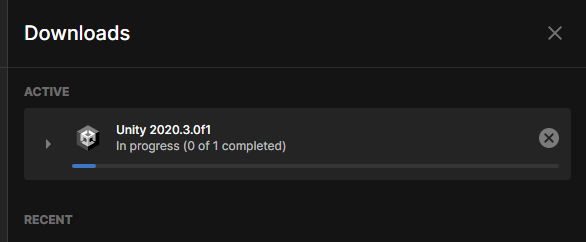
- You will likely now have a Downloads dialog open in Unity Hub, showing the progress of the install, this is a big download and can take a while depending on your connection speed. If you close this dialog, you can reopen it by clicking the Downloads button in the bottom left of the Unity Hub to view the progress.
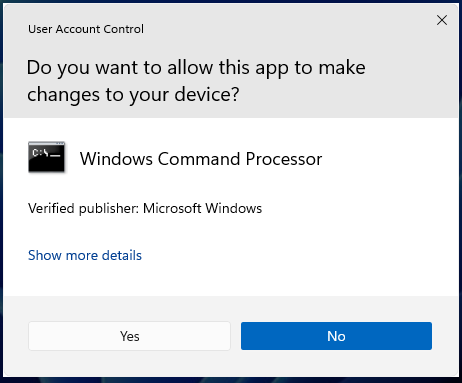
- When the download is complete, you will likely get this prompt, click “Yes” to start the install
- The install process will be just waiting for the progress bar some more, though this should be fairly quick.
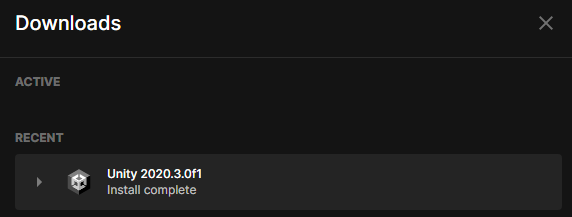
- Wait until the install is complete, and then close the downloads dialog
- It should now show the 2020.3.0f1 version of Unity Editor in the installs section of Unity Hub
3. Visual Studio 2022
Visual studio is the development environment used to create the scripts/code that ties everything together, and compiles the final mod dll files that the game/ModUtils can load. FedesUy has provided a Visual Studio project template to make it easy to get started, that helps with some of the basic project setup.
Official documentation is available here: https://learn.microsoft.com/en-us/visualstudio/install/install-visual-studio?view=vs-2022
3.1 Installing Visual Studio 2022
- Download the Community edition of Visual studio 2022: https://visualstudio.microsoft.com/downloads/
- When the download is complete, run the VisualStudioSetup.exe
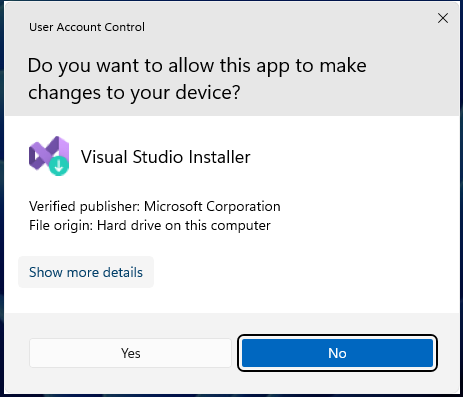
- You will likely be prompted with this, click Yes
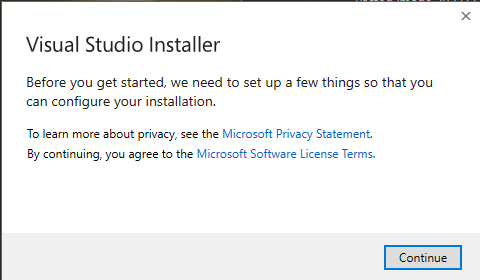
- Review the privacy policy and the license terms, and then click continue:
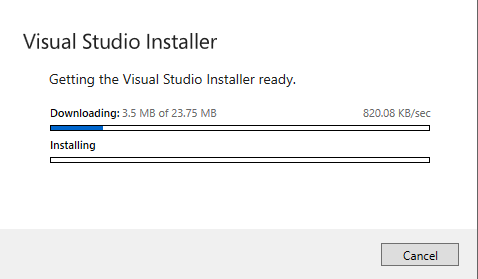
- It will download some basic installer components, should be pretty quick
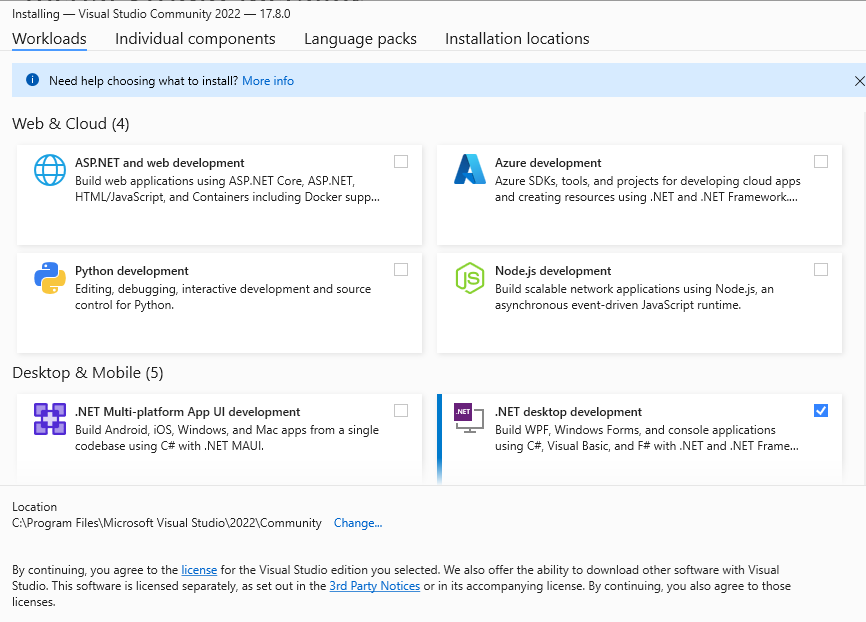
- You should then be prompted to select what “Workloads” to install. For modding My Garage, and Unity Games in general, we will need the .NET desktop development. Select it.
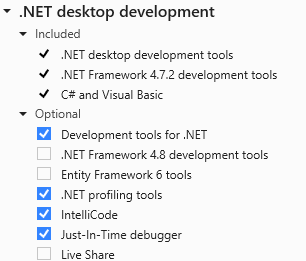
- This should display components in the right side. We won’t need all of them, and can unselect a few of them to save some space, this is the component set that I chose to install
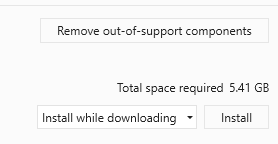
- After selecting the components, click the Install button in the bottom right:
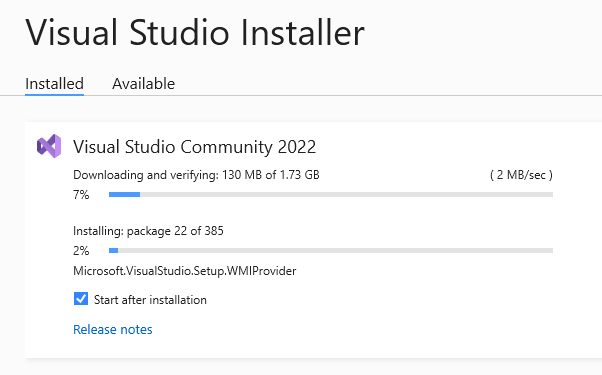
- You should now see some progress bars showing the status of the installation. This can take a while.
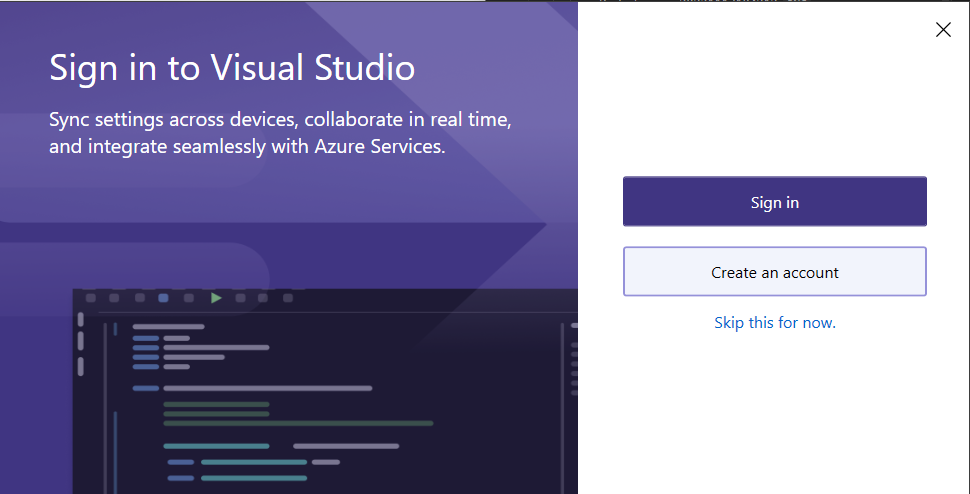
- When the installation is complete, you will likely be prompted to sign in, just click “Skip this for now”
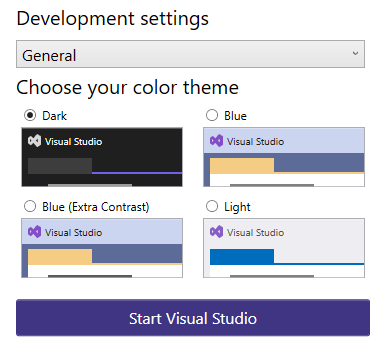
- Pick a color theme, and then click Start Visual Studio
- At the next screen to open or create a project, just close Visual studio for now.
4. Blender
Blender is free software that is used for 3D modeling, among other things. You can use it to design 3d models for new cars, parts, tools etc to be used in game. The installation for this is pretty straight forward.
Official installation documentation is available here: https://docs.blender.org/manual/en/4.0/getting_started/installing/index.html Links are at the bottom of that page to instructions for different operating systems. The below steps are just what I went with.
4.1 Blender Installation
- Download the latest version of Blender from the official website https://www.blender.org/download/
- When the download is complete, run the installer.
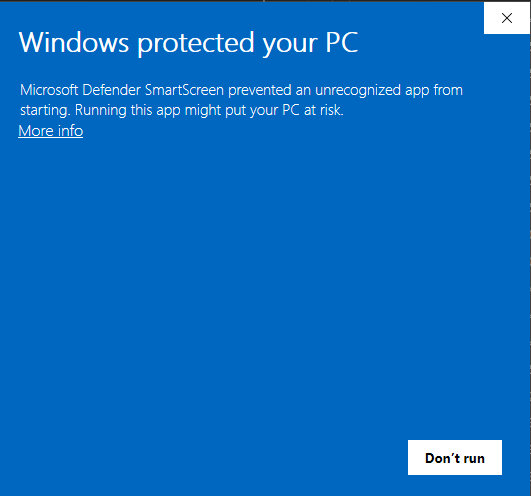
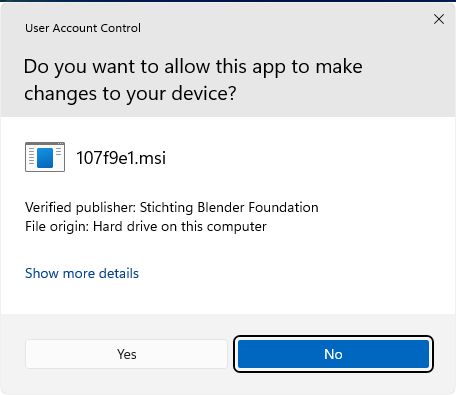
- As of the writing of this guide, Blender 4.0.1 was just released, and Windows will likely prompt with this scary looking dialog due to the installer not being run on all that many systems yet:
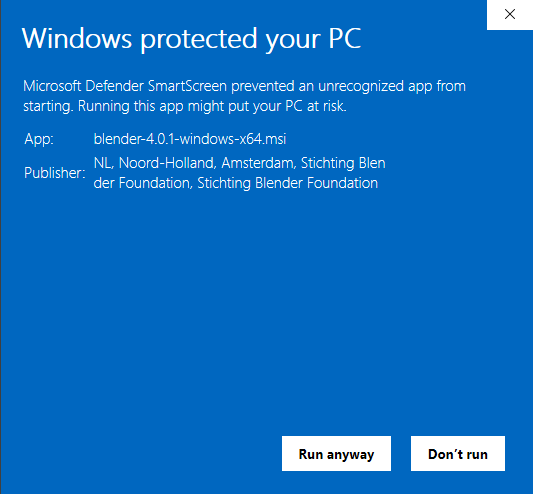
- Click the “More Info” to review the App, and Publisher, if it looks like the following, click “Run anyway”
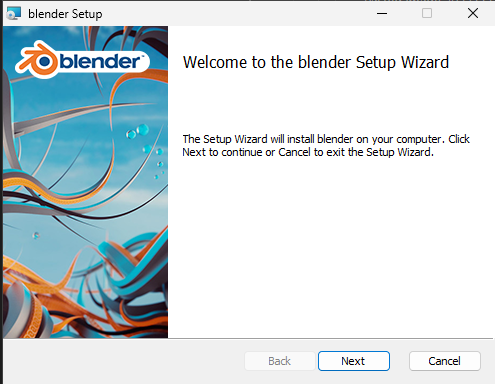
- The install is straight forward from here. Click next
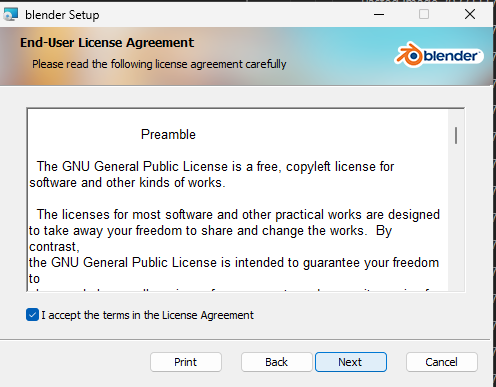
- Review and accept the terms, and then click next
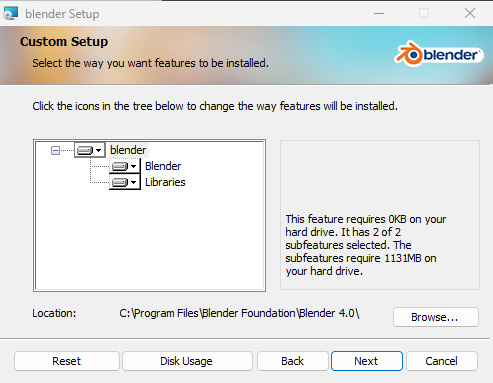
- Leave the default components in the custom setup, just click Next
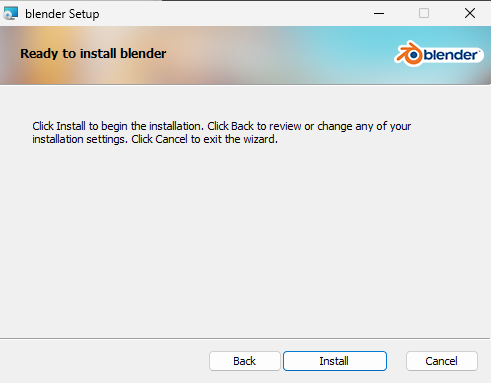
- Click Install
- During the install, you may be prompted with this dialog, click “Yes”
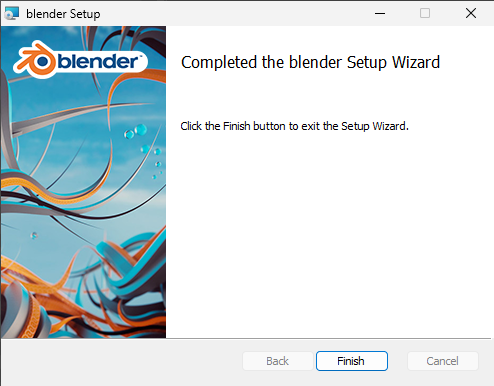
- Eventually, blender will finish install, click Finish
5. dnSpy
Official repo: https://github.com/dnSpy/dnSpy
dnSpy is a tool that lets you peak at the intermediate language code for some applications. Intermediate Language code, or IL Code for short, is a partially compiled version of the code for an application, that can be re-interpreted back into a human readable form using some tools like dnSpy. This will allow you to take a look at some of the dll files for the core game, the mod utilities, and also other mods. This is very useful for gaining an understanding of how the core game mechanics work, and allows you to see how other mods work to help with developing your own mods. dnSpy can be used also to modify and recompile existing dlls to change their functionality, adding debug logging as an example. One thing to note about the code displayed in dnSpy, is that since it is partially compiled, the code flow can vary quite a bit from the original source code.
There are several alternate applications that have similar functionality, though they won’t be covered in this guide. ILSpy and dotPeek are two of the more common alternatives.
CAUTION: There have been some releases of dnSpy that were bundled with malware, that were uploaded to various websites a few years ago. Only download dnSpy from the official Github repository!
5.1 Installing dnSpy
- Open the official github repo https://github.com/dnSpy/dnSpy/releases/tag/v6.1.8
- Download either the netframework or x64 version of dnSpy
- Extract the archive to a folder where you would like to “install” it to
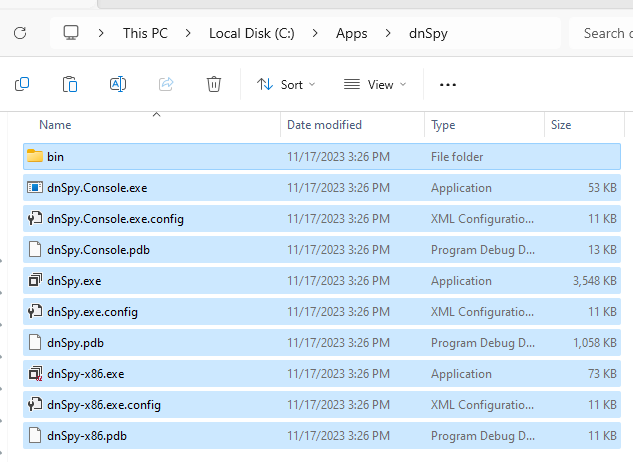
- Example showing extracted files from netframework package
6. Unity Explorer
Unity Explorer is a tool that can be used to inspect, and interact with game objects and components within a Unity game while the game is running. This is useful for understanding how the core game works, debugging issues with mods, and more.
NOTE: Using Unity Explorer in My Garage can interfere with your ability to interact with some in game menus! If you can’t interact with a menu while using Unity Explorer, try pressing F7 and then interact with the game menu.
Unity Explorer requires something to inject it into the game at runtime like BepInEx or MelonLoader. This guide currently only has steps for BepInEx, though the documentation for MelonLoader is very detailed and process should be pretty similar.
- Unity Explorer repository: https://github.com/sinai-dev/UnityExplorer
- MelonLoader repository: https://github.com/LavaGang/MelonLoader
- BepInEx repository: https://github.com/BepInEx/BepInEx
Unity Explorer Installation
- Download the latest x64 release of BepInEx https://github.com/BepInEx/BepInEx/releases version 5.4.22 was the latest at the time of this guide being written.
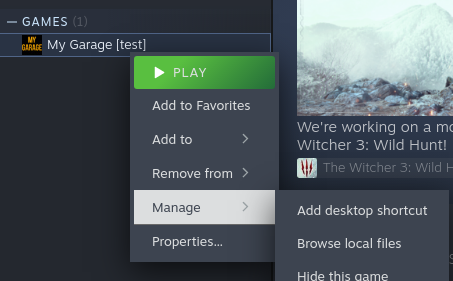
- Open Steam, find My Garage in the games list
- Right click on the game > Manage > Browse local files
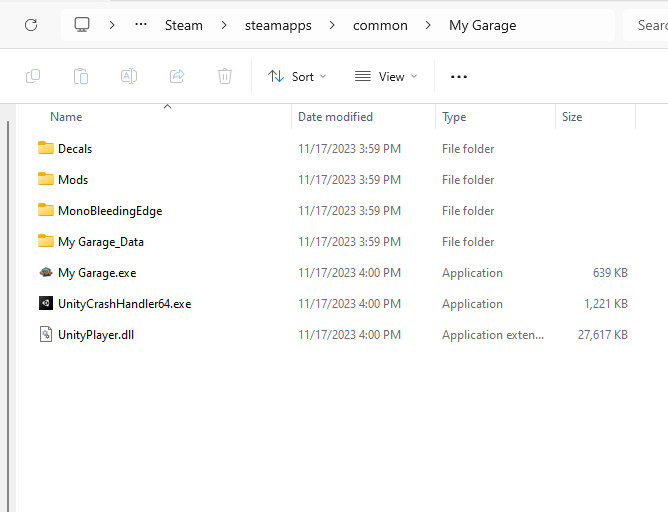
- It should open the game install directory
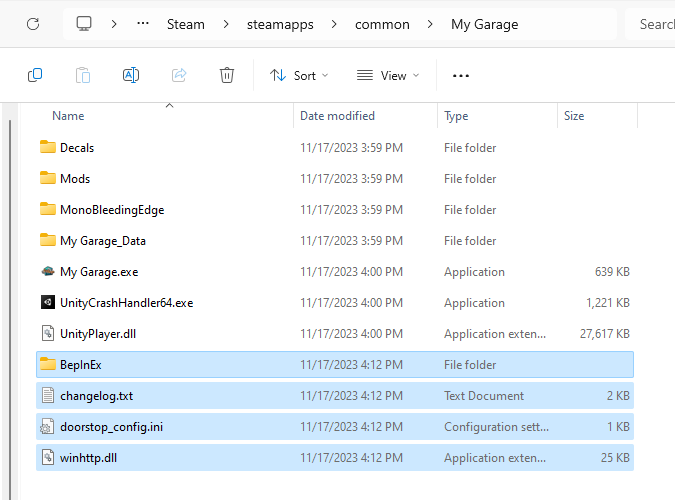
- Open the BepInEx zip file, and extract the contents to the game install directory
- Open the BepInEx directory, leave this folder open for the time being.
- Go to the latest release page for Unity Explorer https://github.com/sinai-dev/UnityExplorer/releases
- You must download a specific version of Unity Explorer that is compatible with the version of BepInEx we are using. Find the most recent version with a download for UnityExplorer.BepInEx5.Mono.zip, as of this guide, the latest was 4.9.0
- Open the downloaded zip file, and copy the “plugins” folder into the BepInEx folder
- Start My Garage and wait for the main menu to load, if you see a new toolbar along the top, it is working
